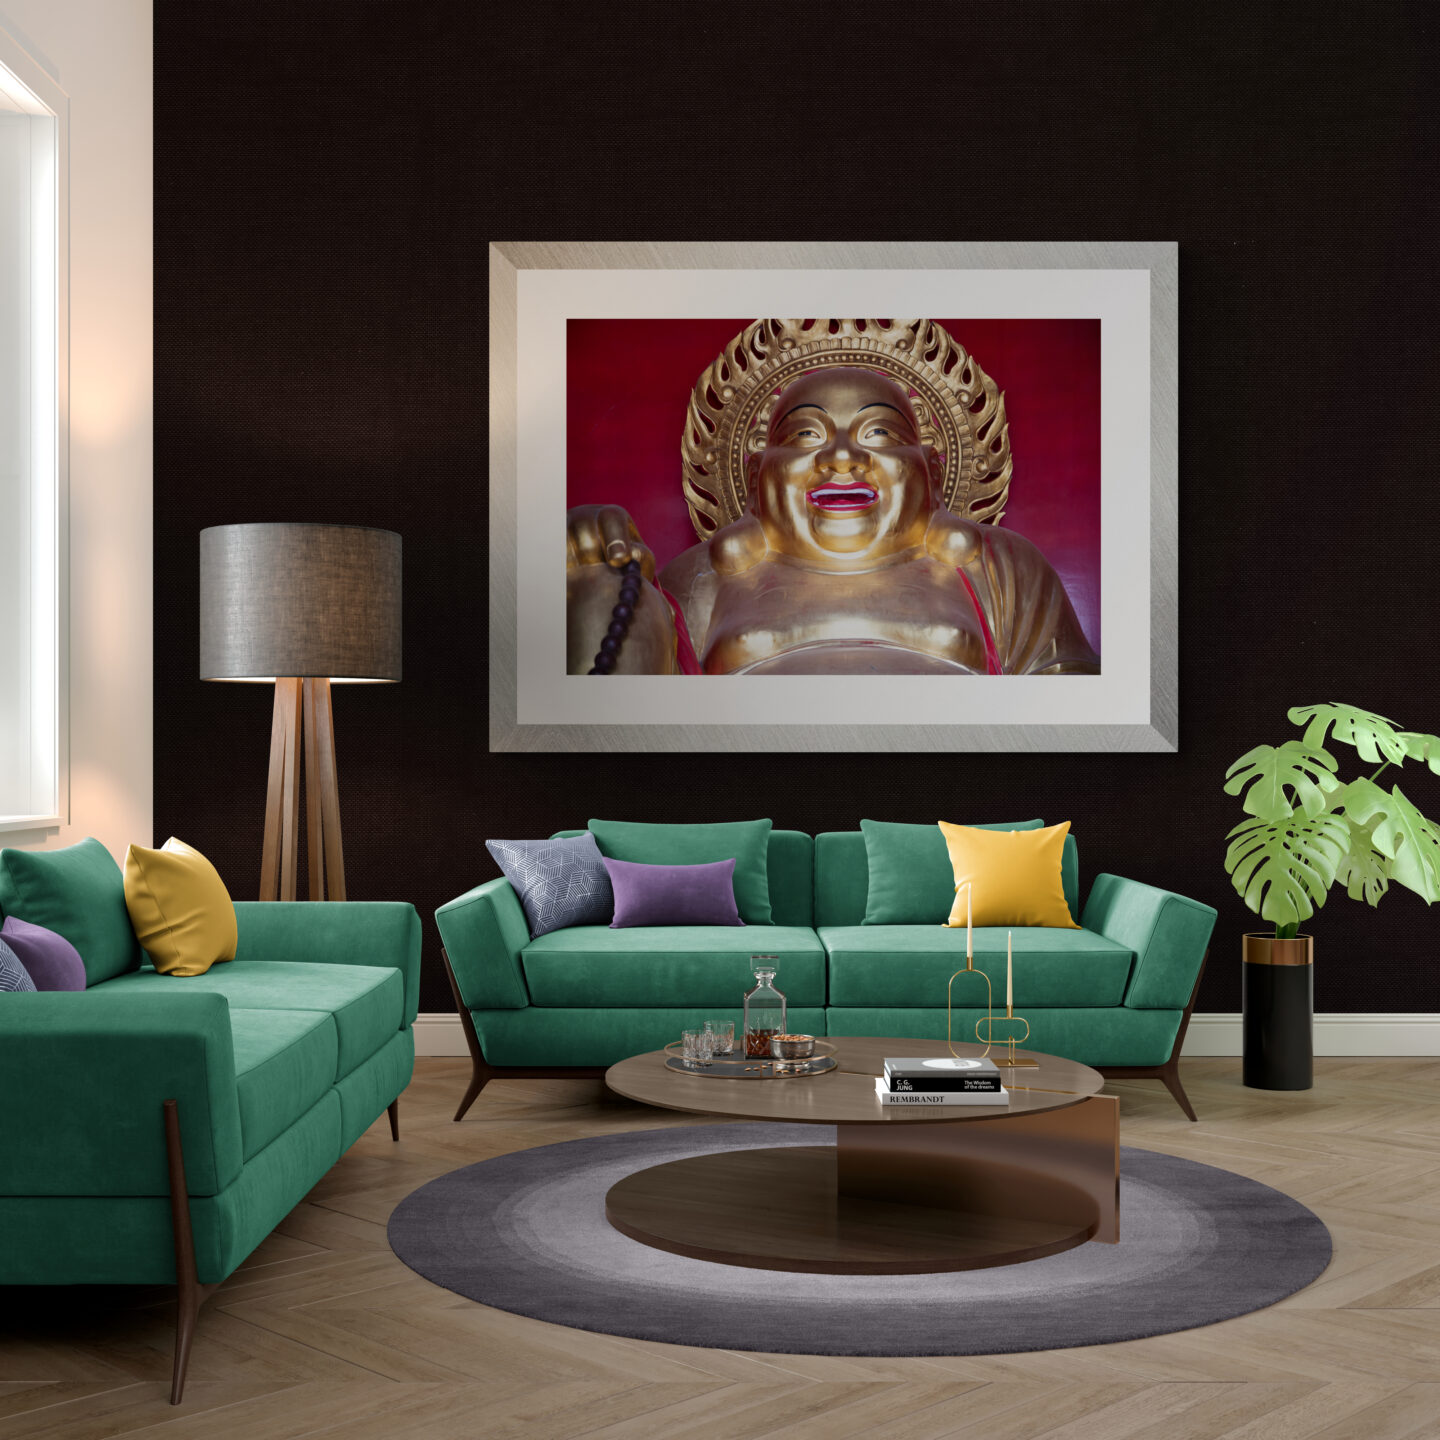
So, you’ve gone out into the wild, took lots of great images, and now you’re back in civilization ready to show them all in that wonderful gallery space. Ah, but first you have to frame them. Oh, that can be such a chore. I’ve decided to help share some of the resources I use when framing my work. If you are framing your work, here are some helpful resources.
For photo clubs and the like and just as a default, I recommend a 16×20 inch black metal frame. I like Nielsen Bainbridge frames. To make it easy, you can search for “nielsen frames” in your search engine and come up with places that sell them. Here are a sampling of places where I’ve purchased them before:
- American Frame – this is an online website that sells frame, especially good for bulk orders.
- Dick Blick – a great art supplier, they have an entire page devoted to Nielsen frames.
- Jerry’s Artarama – both local to Austin and a national brand, Jerry’s ships all over and has a local framing department (for those in Austin.)
- Other local places also carry metal frames – including Hobby Lobby, Micheal’s, Precision Camera, Wayfair. I recommend you shop around and use coupons if you have them.
Just ball parking it, if you go to American Frame, a black 16×20 Nielsen 11 frame with acrylic and archival mounting board is $56.48 and that is without any kind of discount. (If you buy in bulk, you get some money off.) This includes everything except the matte board and things like photo corners which you can purchase separately and use across prints.
For matte board, I like to use 8-ply board, museum board if I can get it. I like the 8-ply as it gives a nice depth and really protects the prints. While I do own a matte cutter (and can do this manually) I must confess, these days I mostly order pre-cut matte boards. I get them cut to the 16×20 inch size, 8-ply and then either sized for digital prints or regular prints (you can even get an 8×10 inch opening, an 11×14 inch or even something like a digital print size, so it will cover a full sized/un-cropped digital print.)
I use photo corners and picture wire so that my prints can be easily hung on the wall at the gallery. I will typically do a backing board, adhere the print to that, and then hinge an 8-ply matte for the front. I use foam core for the backing, so that the springs don’t push into the matte board. To make a hinge, I use Tyvek tape which is a fancy name for a simple product you can buy fairly inexpensively where you get your framing supplies.
I hope this helps set you up with some resources and best of luck presenting your work.
Until next time…

Wow wonderful blog layout How long have you been blogging for you make blogging look easy The overall look of your site is great as well as the content
Author
Thank you. I have been blogging a long time, too long to remember. Thanks for stopping by.